The Greatest Way Ever to Gift Champagne
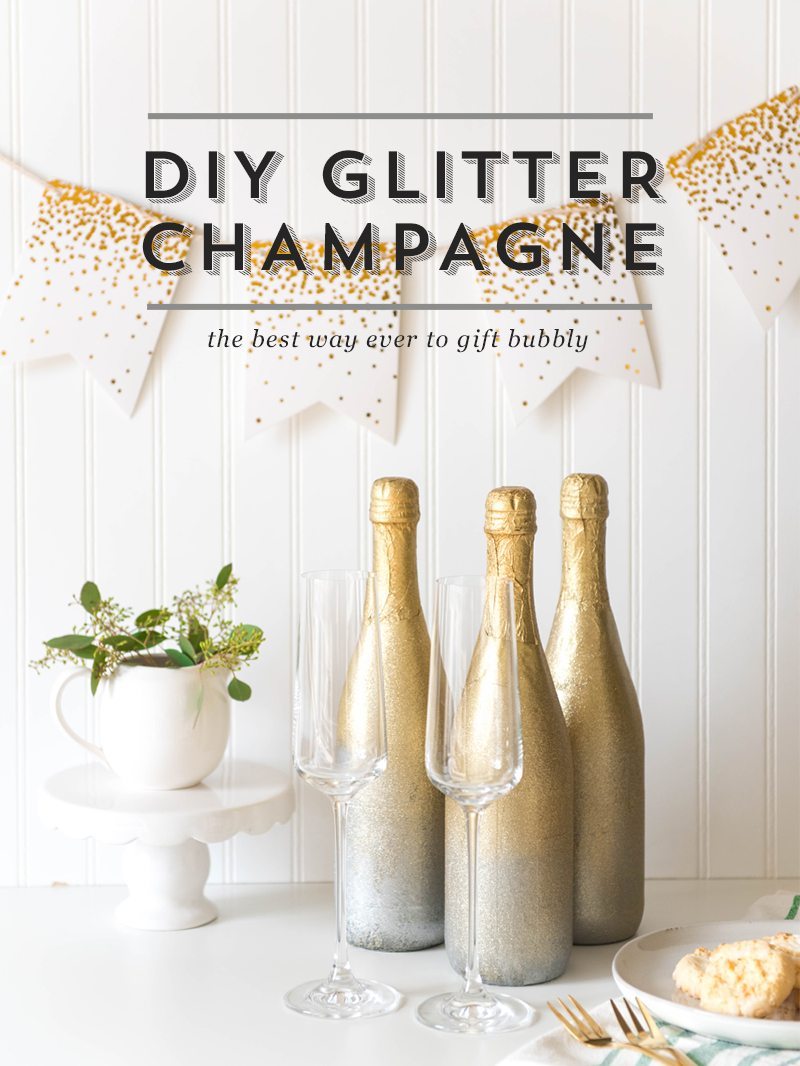
There are a lot of things we love these days: sending a delicious meal to faraway family when we can't be there in person, finding the perfect quirky birthday present for a good friend, and celebrating life's victories with a glass (or two) of champagne. While we believe in gifting and celebrating occasions both big and small, these DIY glitter champagne bottles are the perfect gift to give a special someone who recently achieved something truly spectacular-a wedding anniversary, a graduation, moving into a new home, or hosting a spectacular dinner party without burning the house down.
Gifting Champagne
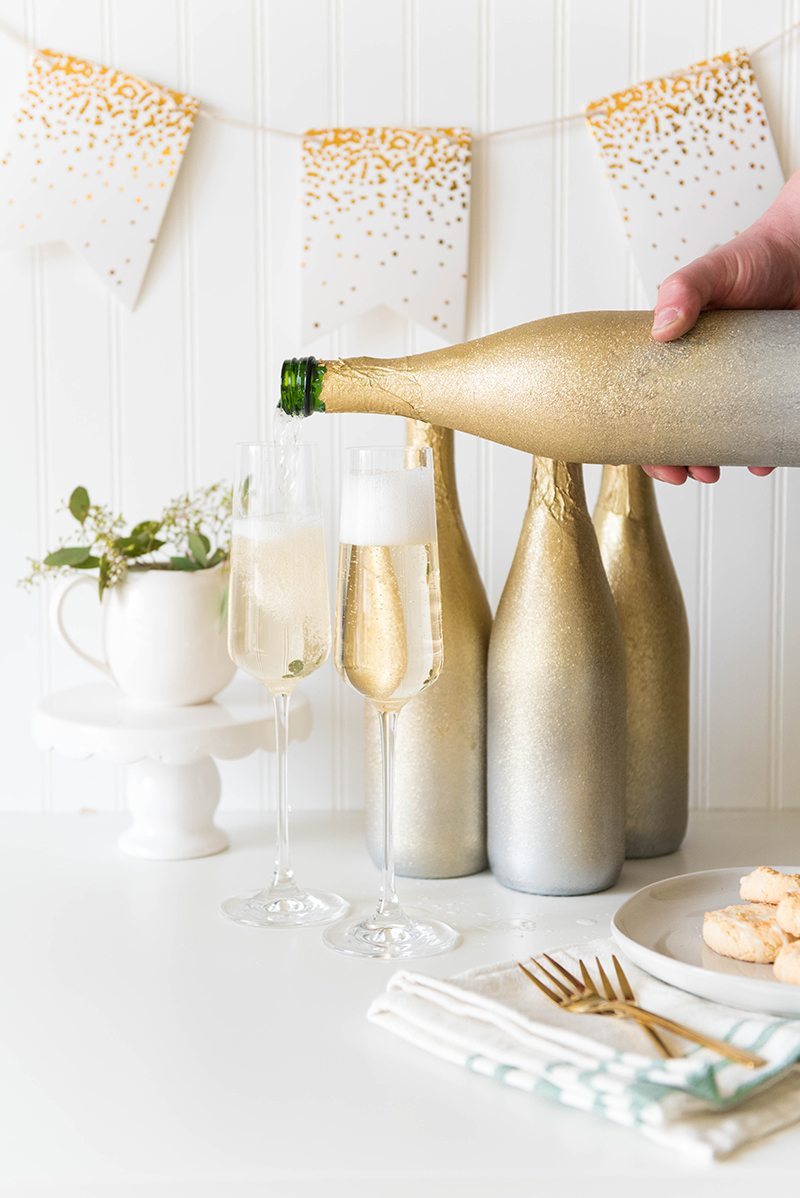
(Take a moment and imagine showing up with one of these beauties as your hostess gift, it’s guaranteed to make the host feel special and appreciated, because this really is the greatest way to gift champagne.) These beautiful bottles are also ideal for Galentine's day brunch, to congratulate new parents or celebrate a new job, and make a perfect housewarming present.
Our favorite thing about this gift? Stunning results with minimal effort. Transforming a champagne bottle into a giftable work of art shouldn’t be this easy, but it is. Here’s what you’ll need to pick up next time you hit your local arts and crafts store: 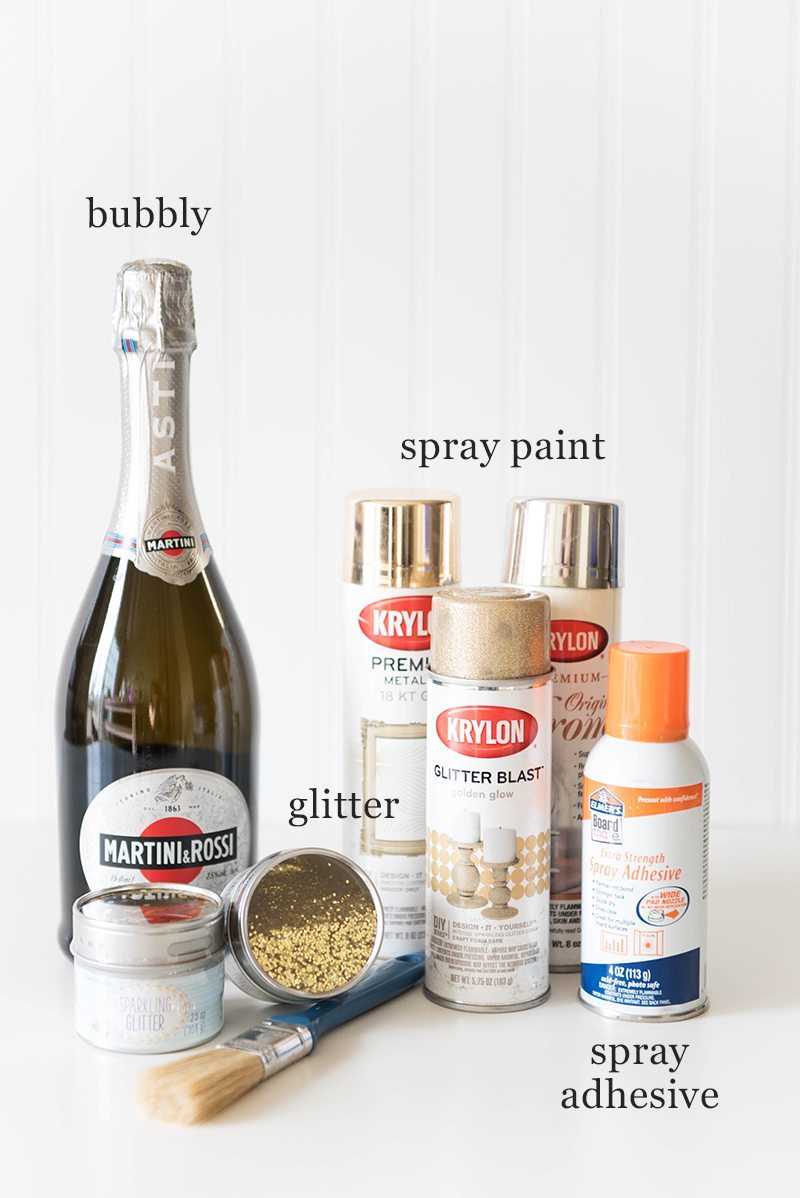
Supplies
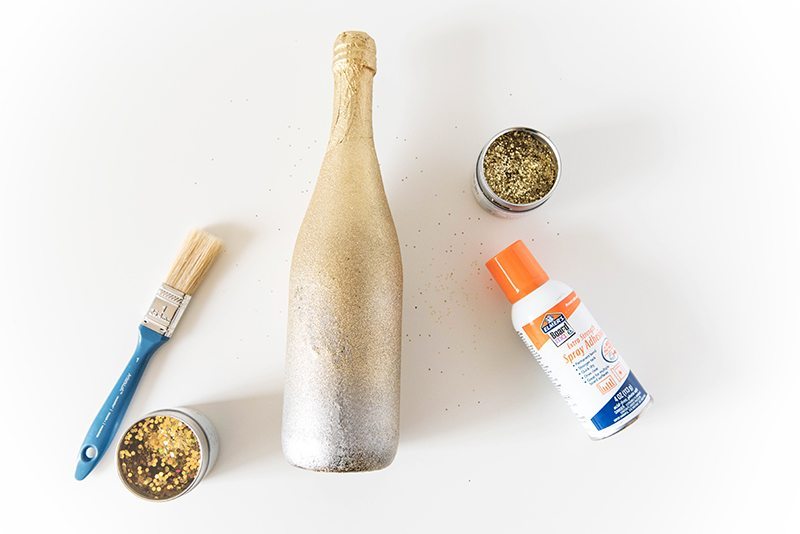
- Spray Adhesive: This is often sold alongside spray paint, but if you’re buying a name-brand like Elmer’s, it might be with the other Elmer’s glue products in the school supplies aisle.
- Spray Paint: We chose a silver and gold ombré effect for our champagne bottles, but you can experiment with a variety of color schemes based on the occasion.
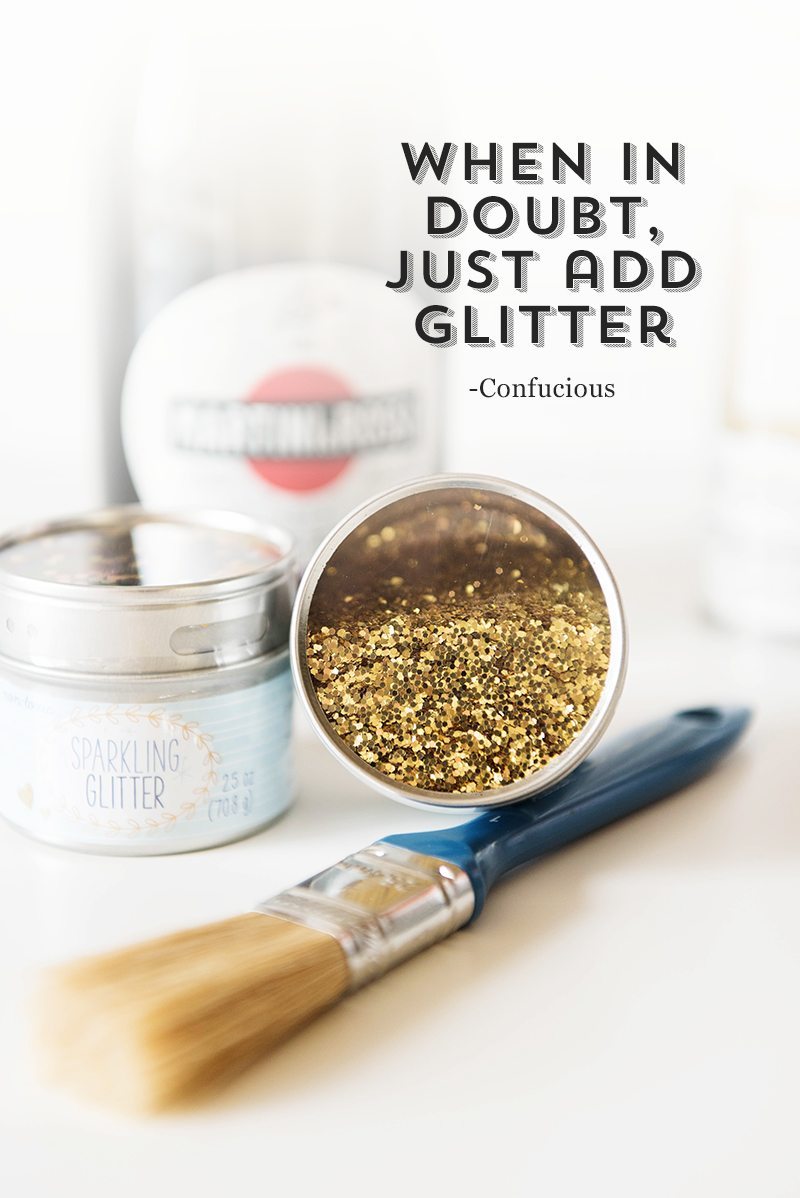
- Coordinating glitter: Large grain glitter adds drama and texture to your bottles while a single coat of glitter dust adds a subtle shine. Get creative and mix glitter types and styles, especially if you are gifting more than one bottle.
- Glitter spray paint: For a more uniform look, forgo the traditional glitter and use this as the perfect top-coat.
- Paint brushes: Find these with general school supplies, or near the blank canvases and sketchbooks.
- Champagne: Just kidding. Do not try and buy champagne at your local Michael’s, they won’t have it, and you wouldn’t want them to carry champagne anyways. (Craft stores do many things right, but champagne isn’t one of them.)
Directions
-
- Spray paint your bottles using solid colors as a base coat. For our silver and gold bottles, we used a metallic gold paint on the top half of the bottle, and a silver chrome along the bottom. Tip: using a darker shade on the base of the bottle prevents the label from showing through the paint.
- Let your bottles dry completely before adding glitter accents. This requires a little patience on your part, but it’s worth it to prevent the smooth finish from smudging.
- Once your bottles are dry, use a coordinating glitter spray paint or adhesive spray and loose glitter to add a little extra sparkle. We used a light coat of gold glitter spray all over our bottles, focusing more on the gold areas to maintain the ombré effect. Adhesive spray helps your loose glitter stay sealed to the bottle, and dries clear.
FAQ
Lay the bottle down, or stand it up? Spray it while it's standing. Secret: find a big cardboard box (the sides should be at least as tall as the bottle) and stand up the champagne bottles in it. Hold the spray paint 8-12 inches away from the bottles and spray. Move around the bottle (like actually physically, walk around the bottle--you don't want to touch it) until the whole bottle is coated as desired. The box will keep the paint from going all over the place and you don't have to get your fingers dirty or worry about messing up the paint like you would if the bottle was laying down flat. Plus, the whole bottle can dry at the same time so you don't have to wait for each side you paint to dry.
What's the best way to apply the adhesive & glitter? Work with half the bottle, spray lengthwise. Spray the top half while holding the bottom half and sprinkle the glitter on. You can hold the bottle flat and turn so you get the whole top half done at once. Then turn the bottle as you sprinkle the glitter on. Secret: Slide some paper underneath where you are holding the bottle before you sprinkle the glitter (but after the spray adhesive!). That way you can reuse the excess glitter. For the ombré effect, do a few coats, you want the glitter layer to be thicker at the top and more sparse at the bottom (or vice versa) Let the top half dry completely. For the bottom half, gently hold the bottle by the neck and spray the adhesive over the bottle like you did with the top. If the bottom half of the bottle is more even (like a standard wine bottle, meaning the bottle isn't super curvy), you can roll the sticky bottle in glitter on a paper plate, or just repeat the sprinkling process above. The sprinkling process does give you more control, so do that for the whole bottle if you want the ombre effect. FYI - do this step on the cardboard box mentioned above & clean up will be a breeze!
Once your bottles are dry, you’re ready to gift! 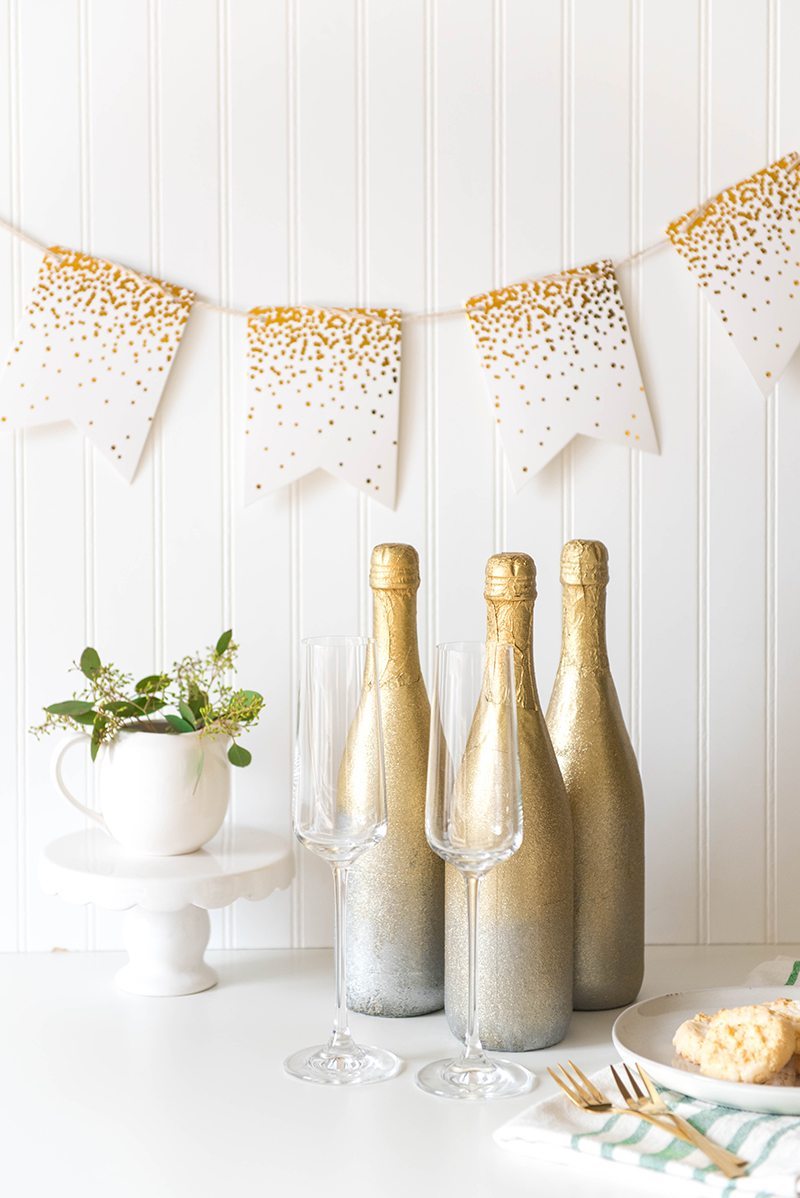
Want to Celebrate from Afar?
Sometimes we need to celebrate, but distance makes it impossible to be there in person with a beautiful champagne bottle and all the well-wishes in the world. But you can still send the perfect gift with one of our customizable care packages, allowing your loved one to celebrate without worrying about getting dinner on the table. Between choosing what soup to match with our fresh baked rolls, and picking out your favorite type of cookie for dessert, you can give the perfect gift for any occasion. Click here to see how easy it is to give the gift of comfort, no matter what the occasion.
Share with Someone You Love
We love the glitter and sparkle of our DIY Champagne bottles, and we think this super easy DIY is just too fun to keep to ourselves. If you bring a little extra glam to your next event, snap a photo and tag us on Instagram @spoonfulofcomfort #spoonfulofcomfort
